For an introduction, see the Kayarchy chapter Sea Kayak Construction Methods (5) Skin on Frame.
 |
Getting ready to build
Before you can start building youll have to find your materials, get some tools, and make a steam box.
Youll also need a good workplace with good lighting and good ventilation. If you're in a northern climate, you'll need shelter from wind and rain, and probably the ability to heat your workplace. The most important thing is to have enough space to work freely. You cant really build a 17-foot long, 2-foot wide kayak in a space 18 feet by 5 feet. The more space you have, the better. Youll need to walk round the boat freely, and to stand back and look at it from different angles.
Its a lot more pleasant to work on a wooden floor than a cement floor. It's warmer, softer, less dusty, and things don't break if they fall off the bench.
Your workplace needs enough space to keep tools, and space to keep materials (wood, lashing, fabric, waterproof coating). It's great to have a lot of shelf space in your work area.
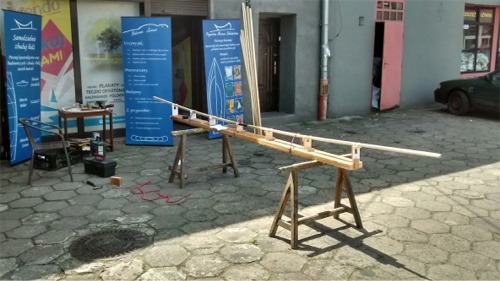
You'll need some kind of workbench. Or possibly three workbenches. First, you want a long, rigid 'strongback'. This is a wooden beam or wooden girder, about the same length as the boat you are building, and raised on legs so that the boat is at a convenient height. See Marcin's photo at the top of this page.
Second, you want a workbench for 'benchwork' (making and finishing small components). You know those workbenches they have in school and college woodworking classes? Four sturdy legs, a thick worktop about 6 feet by 3 feet, and a heavy cast-iron bench vice at each end? Well, it'd be great to have one of those, but you don't really need one to build a kayak or a canoe. You can get by with a folding workbench such as a Workmate™, or a couple of wooden trestles and a plank, or an old table.
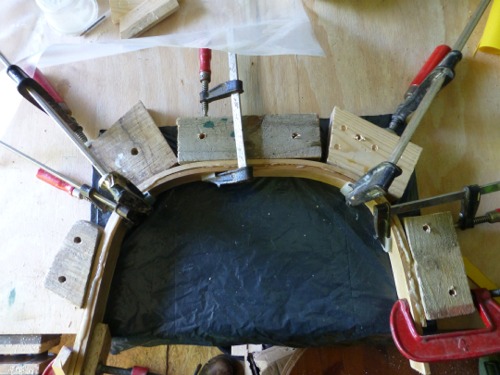
Third, you may want a rigid surface on which you can accurately steam-bend your ribs. There are other ways to do this; Harvey Golden used a neat trick for a sailing canoe, by making the deck 'ladder' and supporting it on blocks, Then he cut each rib to length, steamed it, laid it across the ladder at the right point and just pressed the centre of it downward into the right shape. However, if you have a rigid surface for bending ribs, you're more likely to end up with a smooth, symmetrical hull shape. You can make a temporary plywood worktop, at least 10% bigger than the largest rib you intend to bend. Because it's temporary, you can draw the shape of the rib onto it with a biro, and you can screw temporary wooden blocks to it without anybody getting upset, as in this photo. The photo actually shows several layers of steam-bent wood being laminated into a single frame for a folding dinghy. The blocks of wood are screwed to the worksurface, making a "gluing jig" and the dark plastic sheet is to stop the frame getting permanently glued to the worksurface. You can use the same technique to make a jig for accurate steam-bending of any one rib for your boat.
Your temporary worksurface needs to be rigid. This is pretty easy for a kayak, because even your biggest frame will be less than 24 inches by 12 inches (600mm by 300mm). All you need is a piece of stiff plywood a little bigger than that and, say, 12mm thick. Screw a cleat (a piece of wood 24 inches by 2in by 1in, which is 600mm x 50mm x 25mm) to the back of it. Then you can grip the cleat in your folding workbench any time you want to use the worksurface. Easy.
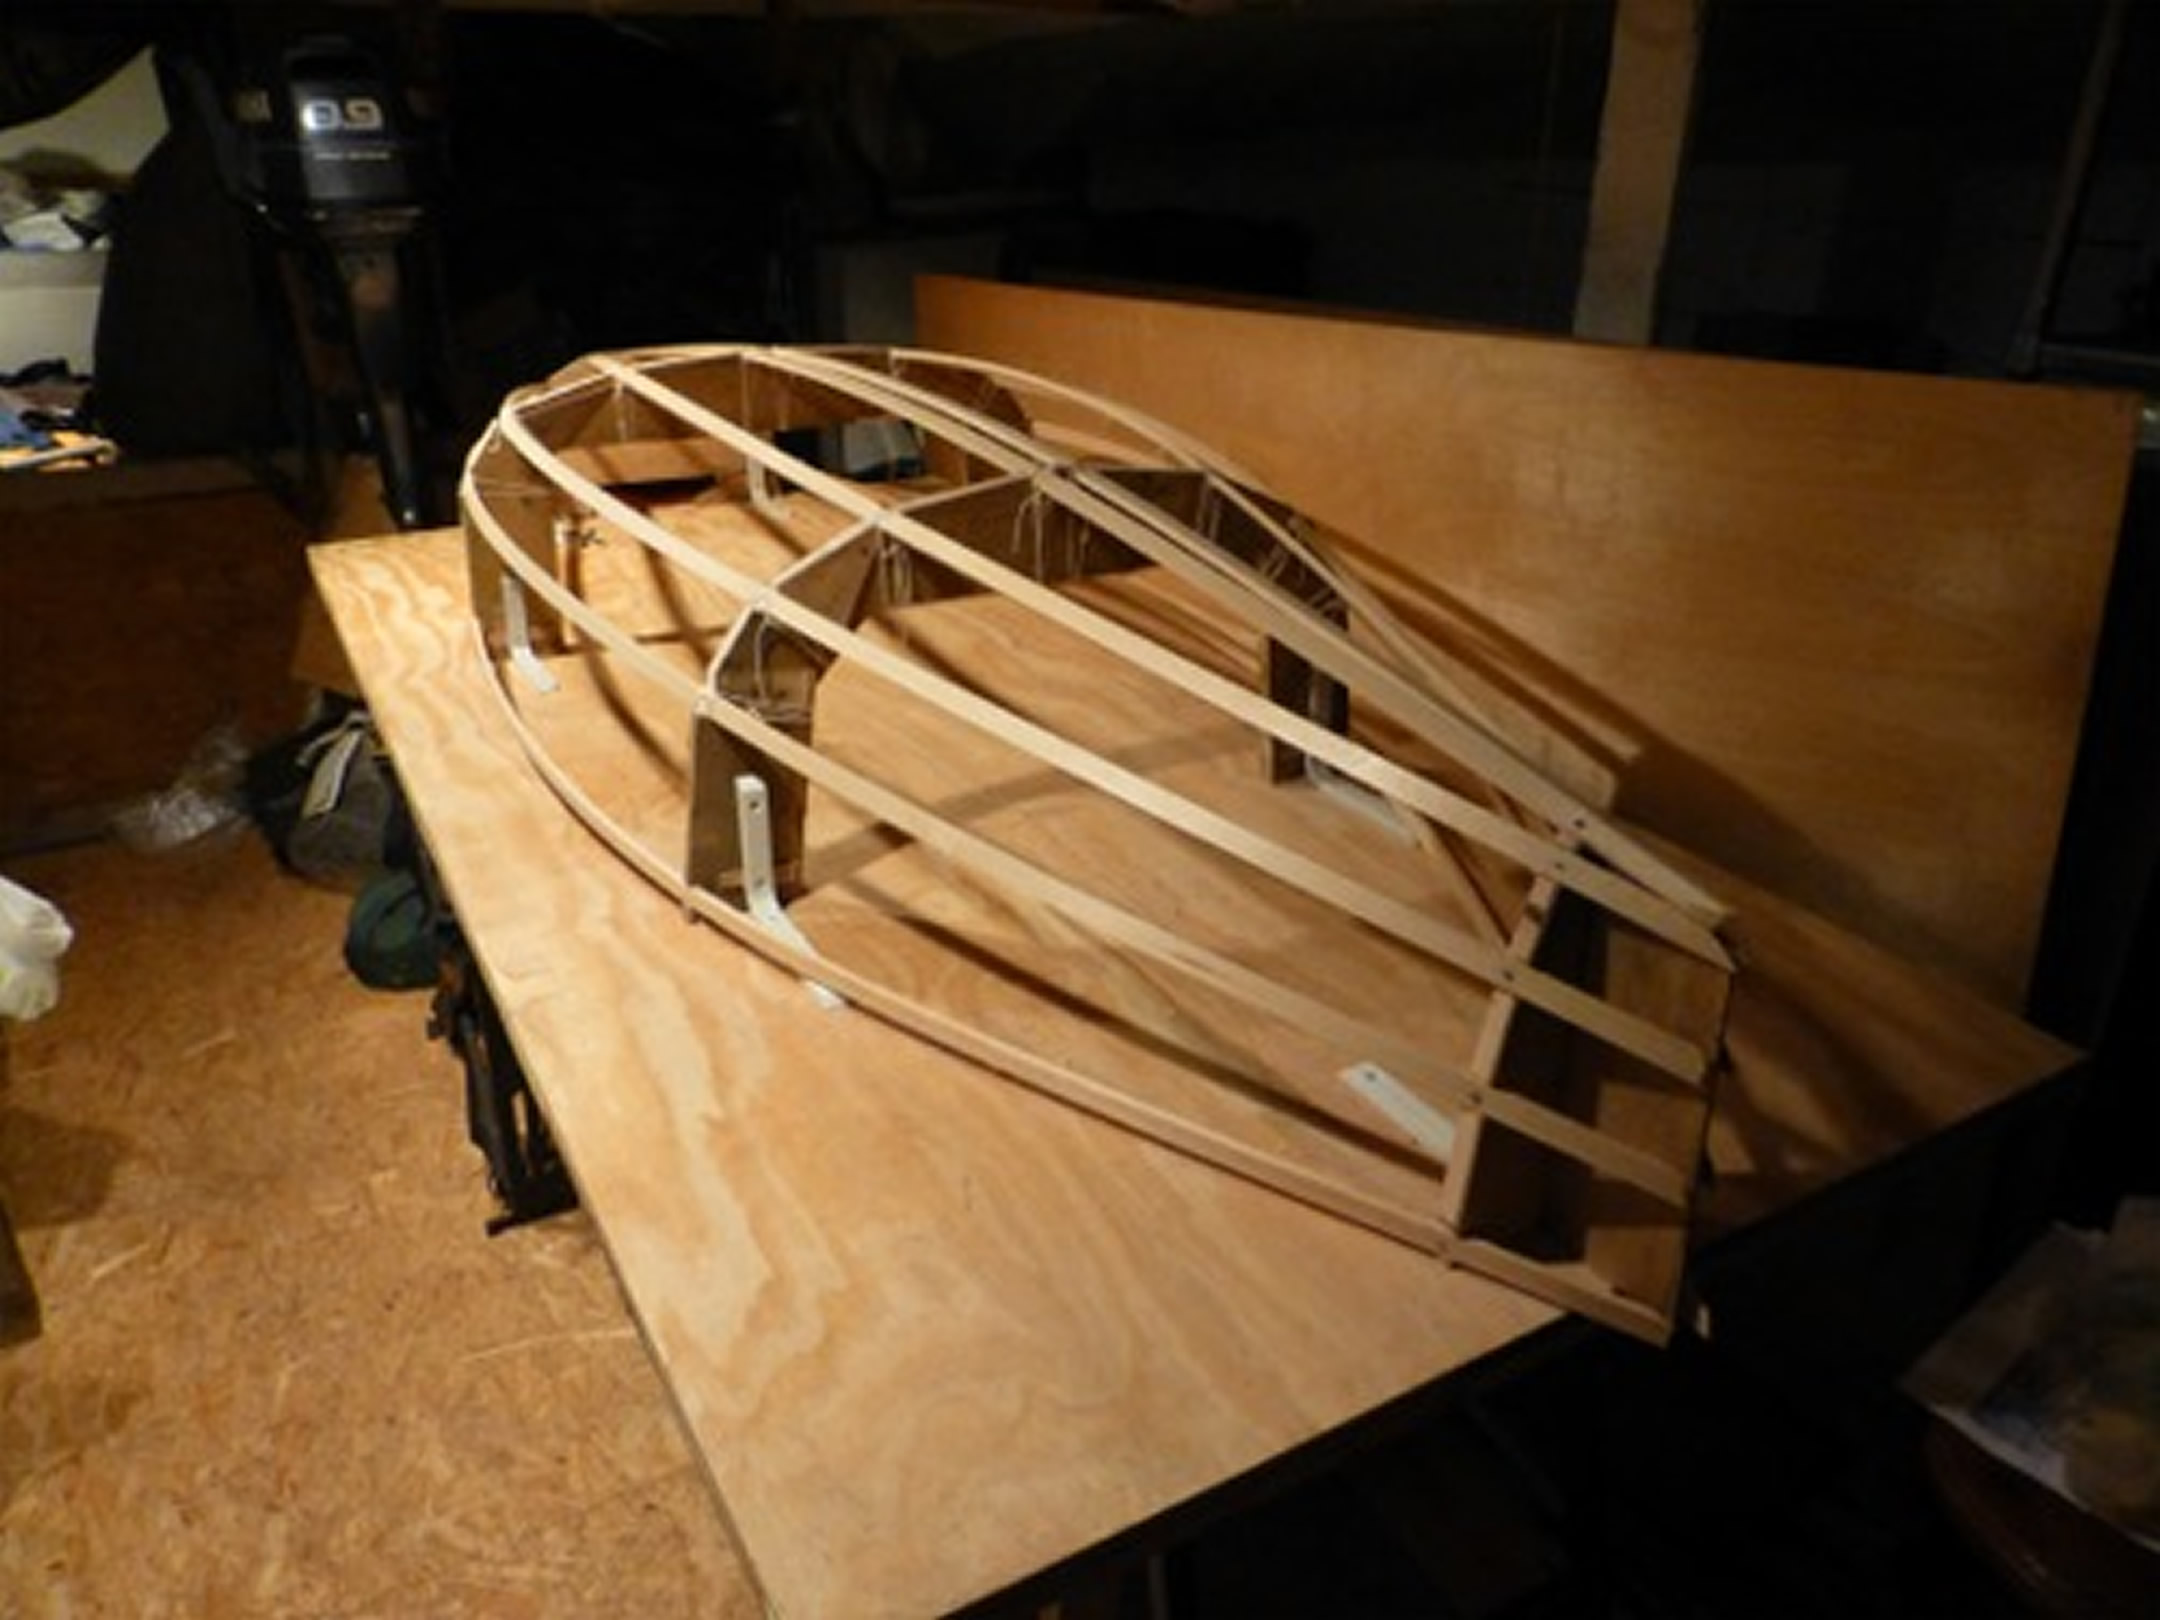
However, if you plan to make a 28-foot umiak you'll have to make great big thick steam-bent frames. A traditional Inuit boatbuilder might have bent them with the help of a few friends and either an oil-drum or a handy rock, but would probably have preferred a big temporary workbench. You can easily make one by bolting together two full sheets of 9mm plywood (a full sheet is 8 feet by 4 feet, 2440mm x 1220mm) to make a single sheet 36mm thick. If you then screw through it to attach 2 by 4s (solid wood 100mm x 50mm) planks all round the underside, and support the whole thing on a couple of trestles, or a couple of Workmates, you'll have a serious temporary workbench. You may find it so useful for all sorts of other jobs that it becomes a permanent part of your life. Patching tarps, sewing sails, painting moveable objects, dismantling bicycles, charging batteries, wrapping parcels, or making a prototype of an 8-foot dinghy as in this photo.
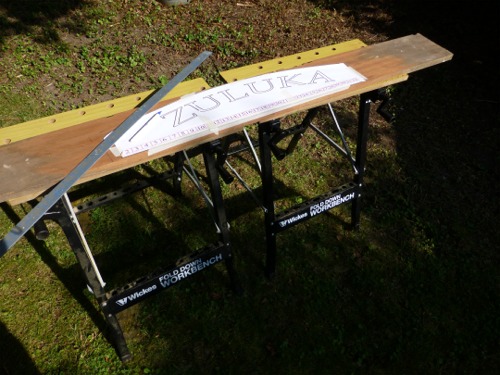
I have a couple of folding workbenches for working outdoors on jobs that make a lot of sawdust, steam or drips, or just when it's a nice day.

You need to be able to keep your workplace clean and tidy, which means a serious vacuum cleaner (like a Henry™) or at least a dustpan and brush.
Arranging all these things is likely to take a lot longer than the actual building process. When youre all set up, it takes one person between 1 week and 6 weeks to build a 17-foot (5.2 metre) kayak. It takes two people between 4 weeks and 10 weeks to build a 26-foot (8.5 metre) umiak.
Go to:
Contents page for this article
Go to next page for:
• The main steps of traditional SOF construction